Rooting Android Motorola
I will show how to root a motorola g41 device
Prepare the devices
- Enable developer mode going to “Configuration” – “About phone” – touch seven times the last option called “Build number”
- Now in the “System” / advance options you will saw the “{ } Developer options”, there you have to enable “OEM unlocking” and “USB debugging”
Unlock the bootloader
- You need to install ADB and Fastboot in your PC
- Now enter the this page and login with an account.
- run
adb reboot bootloader - run
fastboot oem get_unlock_data - If you get stuck on < waiting for any device > message its because you need to install Motorola USB Drivers, so we download the Drivers for Windows and now if run
fastboot deviceswe saw our moto g41

- Put the code in this webpage, accept the conditions and check if you devices is unlockable
- Now you will receive an email with the key to unlock the bootloader
- now run
fastboot.exe oem unlock <Your-key> - Accept on the device and voila

Rooting the device
- install Magis manager app
adb install .\app-release.apk - Download the motorola firmware, for that we will use the Software Fix tool from Lenovo
- Install and connect the device, wait until the Software recongnizes the phone throw adb
- Inside the Software Fix application go to the Rescue tab and download the zip file, important chech that the actual version is the same as the destiny firmware version
- look for the boot.img file in the path
C:\ProgramData\RSA\Download\RomFiles\XXX - Push the file into the phone
adb push .\boot.img /storage/sdcard0/Download/ - Open the magisk manager app and click on Install, then choose the “Select and Patch a File” with the boot.img file we already push it
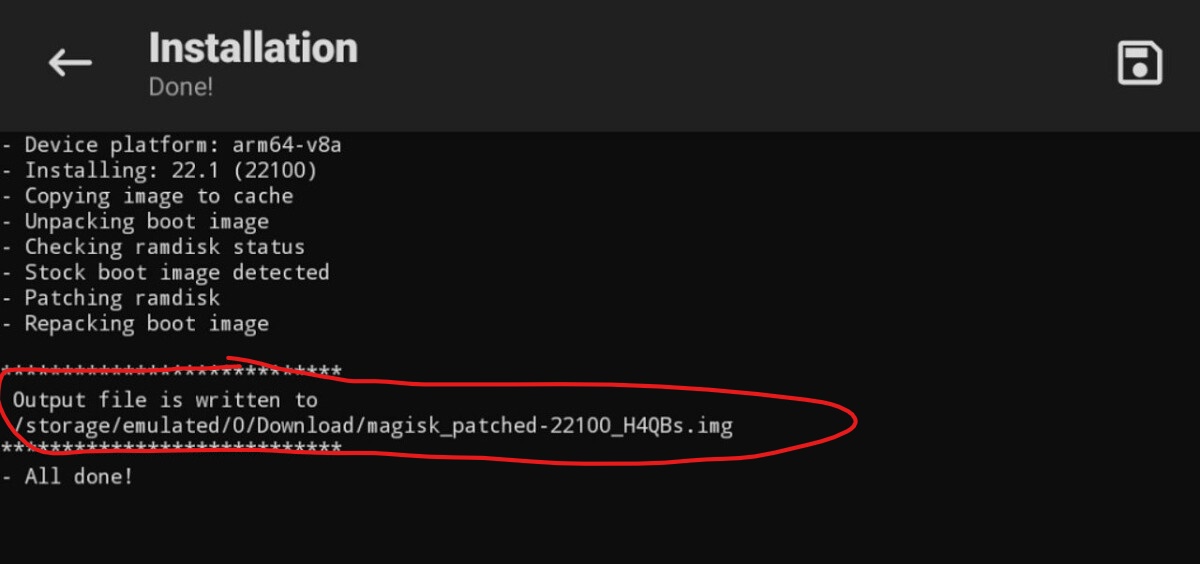
- Copy the patched image to the PC with adb pull
- Now we can flash the device with the new rooted image
1
2
adb reboot bootloader
fastboot flash boot /path/to/magisk_patched_[random_strings].img
- voila
This post is licensed under CC BY 4.0 by the author.